
Creality CR-10 Upgrades
25 January 2018
 Back in October, I ordered a 3D printer! It's a creality CR-10, a cheap chinese model, with a large 30x30cm build plate. It cost me less than 300€ on Gearbest.
My boss asked me to look into buying a 3D printer for the team too, and given our budget and needs, a CR-10 seemed again to be appropriate: We will mainly use it to print molds for human organs. Those are relatively large parts, and a 300x300mm build plate come in handy.
Honestly, I do not personally need a 3D printer. while it might come in handy in future projects, I have now adhered to my local fablab and I can use the printer from work when it's not available.
So my own 3D printer won't be very used for personnal project. I really bought it so that I would have a cheap 3D printer to tinker with. Having some space in my office, I've decided to put it next to the printer from work, and to make it available for the projects of the team.
Insulation
 My first update was the installation of some insulating foam under the heated bed. The CR-10 has a very large build plate, and is only powered by a 12v power supply. I wanted something both esthetic and efficient. The CR-10 heated bed is a simple piece of aluminium that acts as a heatsink, and dissipates heat both upward and downward, while we're only interested increasing the heat on the upper side.
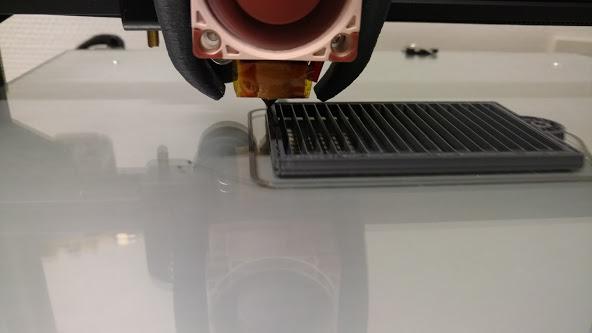
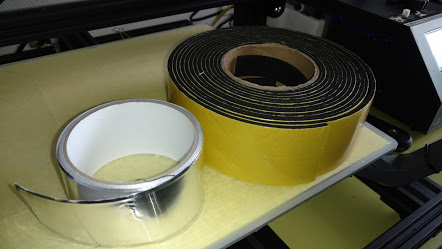 Cork or glass fiber are good insulating materials, but they are thick, and frankly quite inaesthetic. The gap between the bed carriage and the heated bed is quite small, so I went for a thin insulating foam, protected by an aluminium tape. Before the upgrade, I could hardly reach 95°C. I can now reach around 110°C, and it takes about 15 minutes less to reach 90 degrees, which is the temperature I need to print PET.
Fans replacement
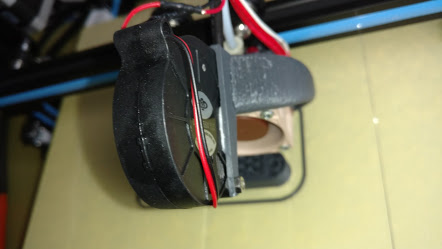 Because my office is also where I work, and the constant noise of a 3D printer doing its job is not the least annoying sound in the world, my printer's next upgrade was to replace the printer's fans. There are 3 fans inside the control box. One inside the power supply, one dissipating heat from the control board, and another one expelling it from the controller's case. Finally, the extruder needs a fan for the heatsink, and a blower fan (radial) for part cooling while printing.
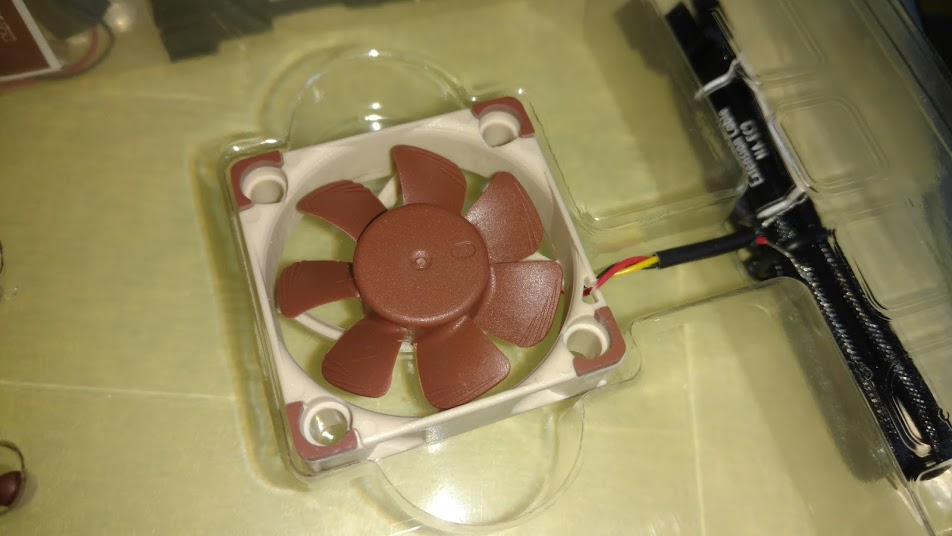 All of these fans are 12v fans of different sizes. The PSU and controller board's fans were replaced by a 60mm and 50mm Gelid Silent fans. The case fan and extruder's heatsink fan were replaced by 40mm Noctua fans and I upgraded the blower fan for a chinese 50x15 radial fan. The latter isn't so silent, but packs more punch to cool off during bridging.
In the end, the heatsink and the PSU fan were the ones that affected the sound level the most.
I would love to replace my stepper drivers with the infamous TMC2130 drivers. Sadly the CR-10 has a custom MELZI board with embedded stepper drivers. If the noise is too much of a problem, I might replace all the electronics with a cheap RAMPS board.
Belt tensionner
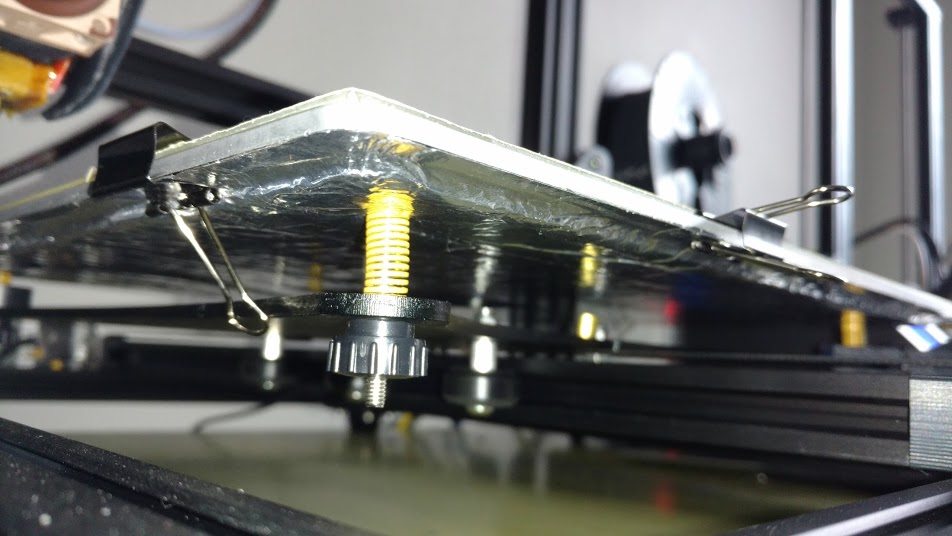
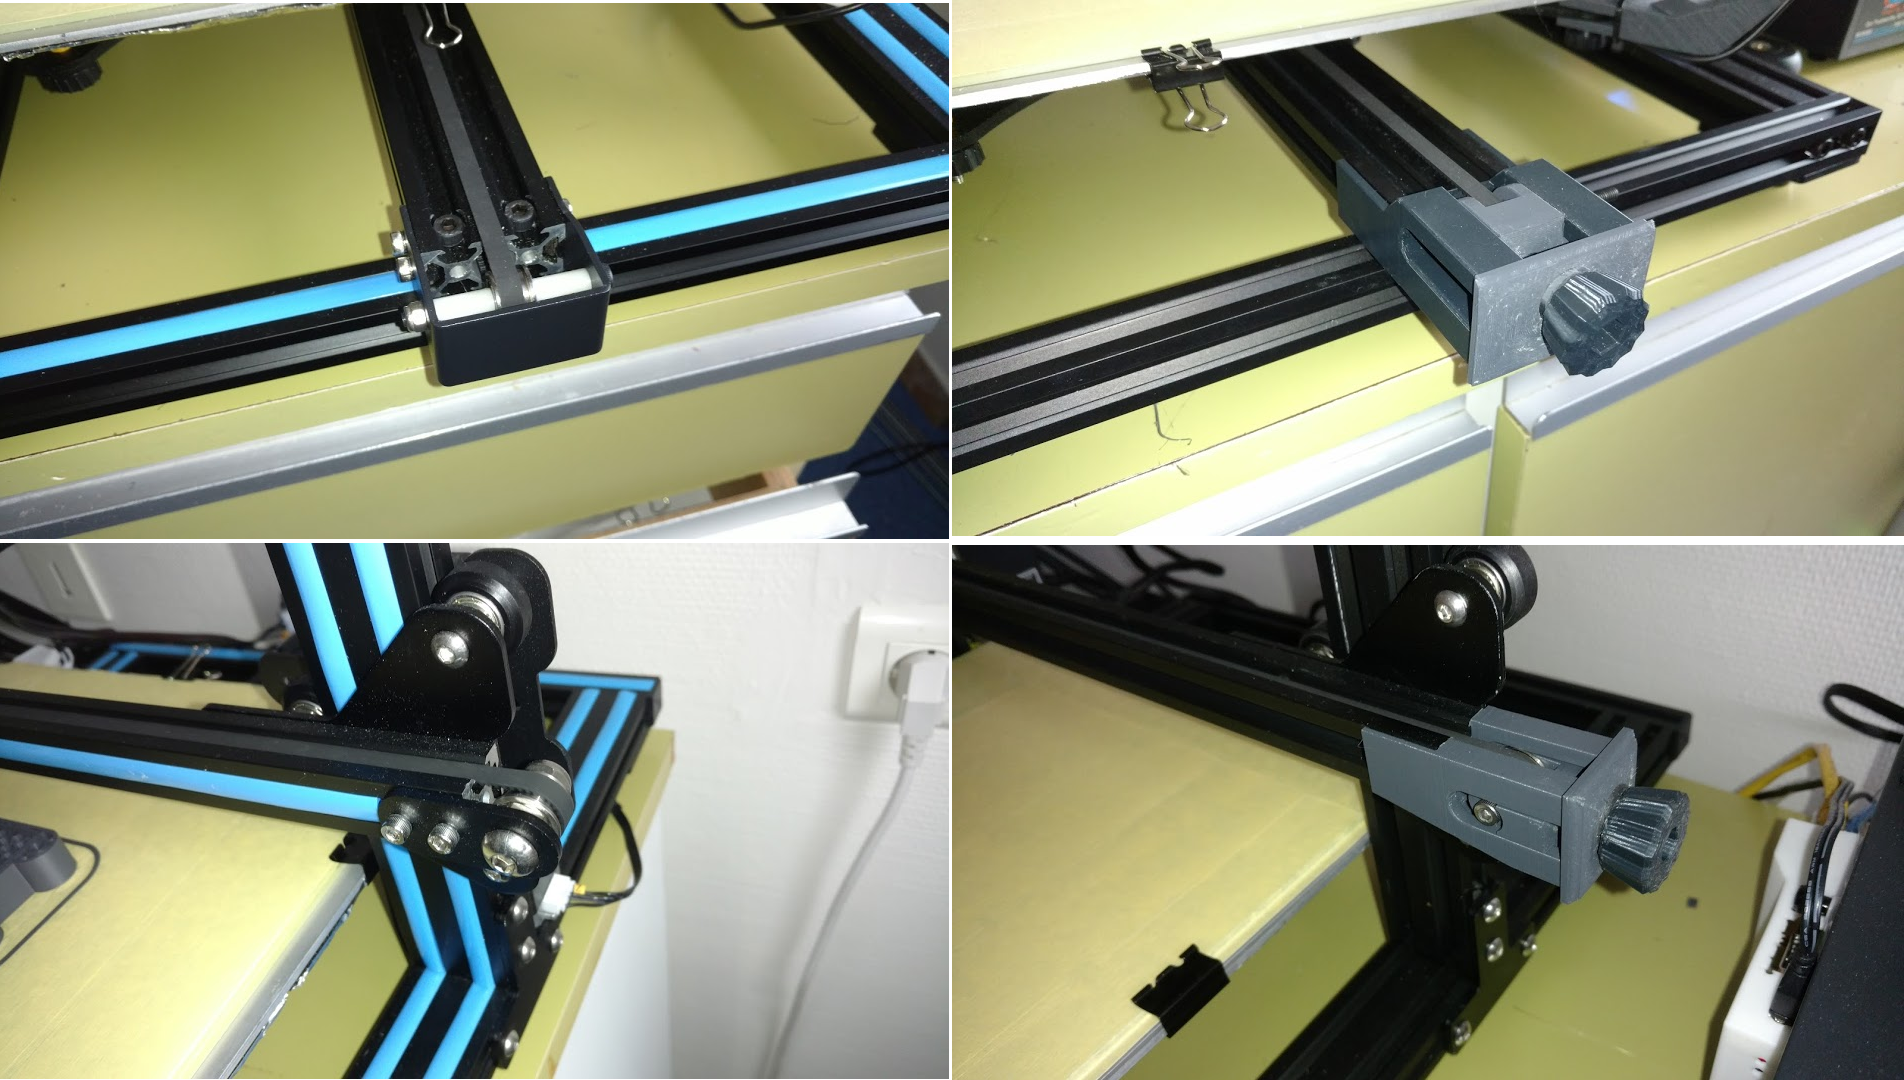 After a few months of intensive use, my prints quality degraded: The layers were improperly aligned along the Y axis. I found out that the Y axis belt was too loose. I fixed the problem, but it made me realise that the tensioning mechanism really isn't great on this printer. I found some interesting designs on Thingiverse, and went for donnyb99's design. His tensioner has a thumb nut to easily change the belt's tension.
I'm pretty happy with those upgrades, but that's just a start! :) I have many more upgrades in mind: upgrading to an e3d-v6 to print higher temperature thermoplastics, adding a proximity sensor for automatic bed calibration, adding an enclosure to improve layer bonding when printing ABS, add a heater and a venting system to expell toxic fumes and control the temperature inside the enclosure...
Some of those mods are already in progress... I'll keep you posted in another article, with new upgrades!