
CR-10 Upgrades, Part 2
22 March 2018
 Here we go with a new batch of upgrades for my Creality CR10 printer! I've ordered some great new components, found some great mods on Thingiverse, and most importantly, I've set up Octoprint for my printers. Let's get to it!
 Setting up an Octoprint server
Probably the most useful upgrade I've done so far: installing an octoprint server on a Raspberry Pi!
If you're reading this, you probably already know this, but the Raspberry Pi is a small and very cheap computer, almost the size of a credit card. The one I have, a Raspberry Pi 3 B, is USB-powered, has four USB type-A ports, an ethernet, HDMI and jack port.
 Octoprint can be installed on linux distributions such as ubuntu, debian etc, and there's a pre-installed distribution of linux called Octopi. I installed two separated instances of octoprint on my raspberry pi and bought two logitech webcams.
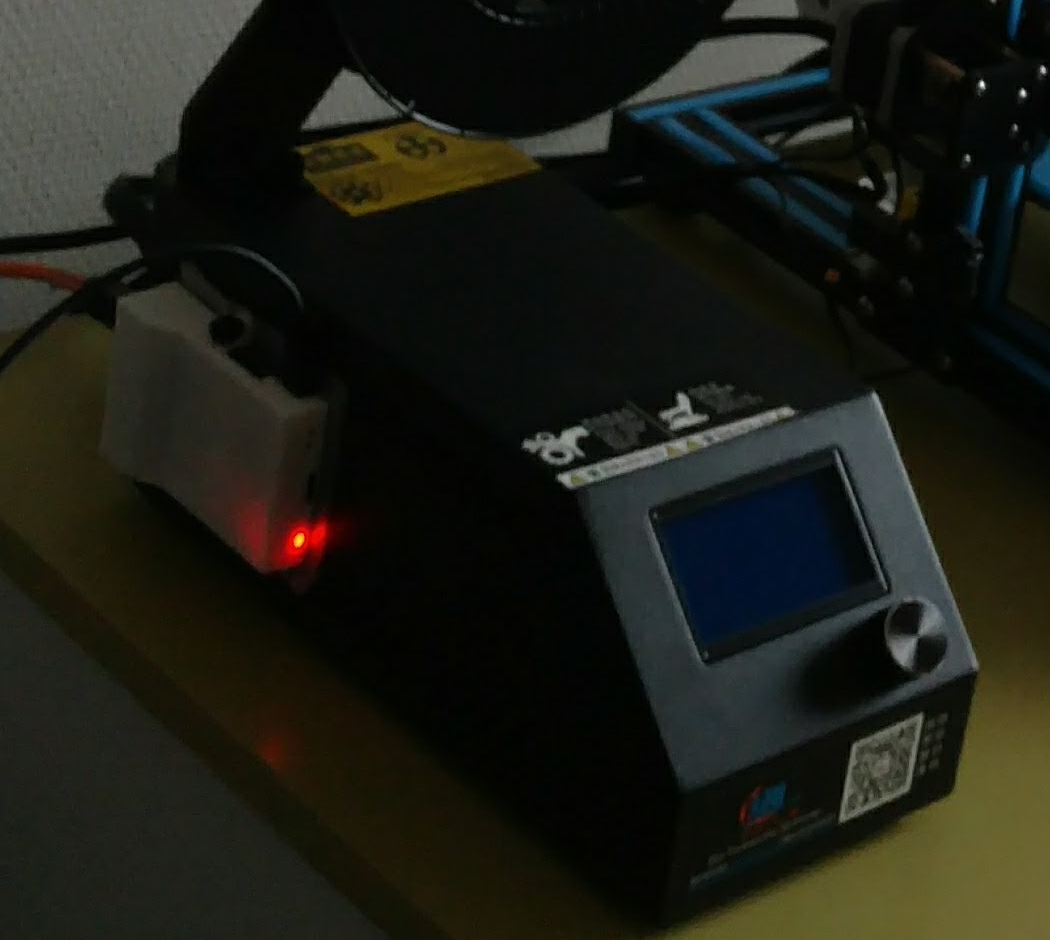
I can now control and monitor both of my 3D printers that I have at work from anywhere. I've printed a small case for the Raspberry-pi, that easily attaches to the control box of my CR-10. I also printed a webcam holder from Thingiverse for the two logitech c270 cameras I bought. The design is not articulated, and can only rotate around its attach point, but that's enough for monitoring. I had a problem though, that is that those cheap logitech cameras have no auto-focus, and the default focal distance of the camera was too far away to get a sharp image. I found this video explaining how to fix the focus, and it worked out great!
Octoprint can be installed on linux distributions such as ubuntu, debian etc, and there's a pre-installed distribution of linux called Octopi. I installed two separated instances of octoprint on my raspberry pi and bought two logitech webcams.
I can now control and monitor both of my 3D printers that I have at work from anywhere. I've printed a small case for the Raspberry-pi, that easily attaches to the control box of my CR-10. I also printed a webcam holder from Thingiverse for the two logitech c270 cameras I bought. The design is not articulated, and can only rotate around its attach point, but that's enough for monitoring. I had a problem though, that is that those cheap logitech cameras have no auto-focus, and the default focal distance of the camera was too far away to get a sharp image. I found this video explaining how to fix the focus, and it worked out great!
Upgrading the print surface
 The CR-10 has manual calibration. This means that the bed surface must be really flat, since the printer will not account for any irregularity of the print bed. The bigger the bed surface, the least likely it is to be perfectly flat. Moreover, heat often causes the print surface to warp, making the bed even less flat.
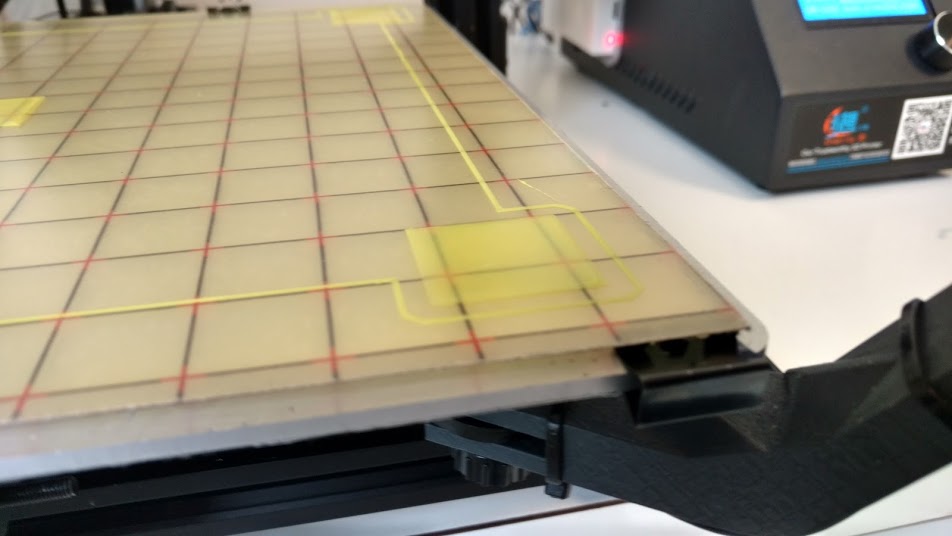
That's why the CR-10 uses a piece of float glass on top of the aluminium bed. Sadly, there are two problems with the float glass that Creality ships with the printer: It's not actually flat, compared to my expectations (at least mine wasn't), and it's quite thick, which further increases the heating time.
Some people have installed cheap IKEA mirrors on their CR-10, so I decided to give it a try. It's 3mm thick and has the right dimension. Also, it's much flatter than the glass provided by Creality. Bonus point: it only costs 7€ for a pack of four!
Some people like to print directly on glass. A scratch with a fine sandpaper (800 or 1000-Grit) will create small scratches into which most plastics will adhere when heated. The printed part pops right off once cooled. Sadly, it didn't work out so well for me, and I've had a lot of adhesion problems on glass.
So I decided to invest into a proper build surface. After doing some research, I found the PrintBite+ from Flex3Drive to be a great surface for my needs. Definitely better than the kapton tape I was using before...
Z-probe installation & e3d-v6 conversion
 Installing a proximity sensor on my printer is the most complex update I've done on the printer so far. I could have gone for the pre-made EZABL kit from th3d, but the point of those upgrades is to play around with my printer... so I decided to go for something more original.
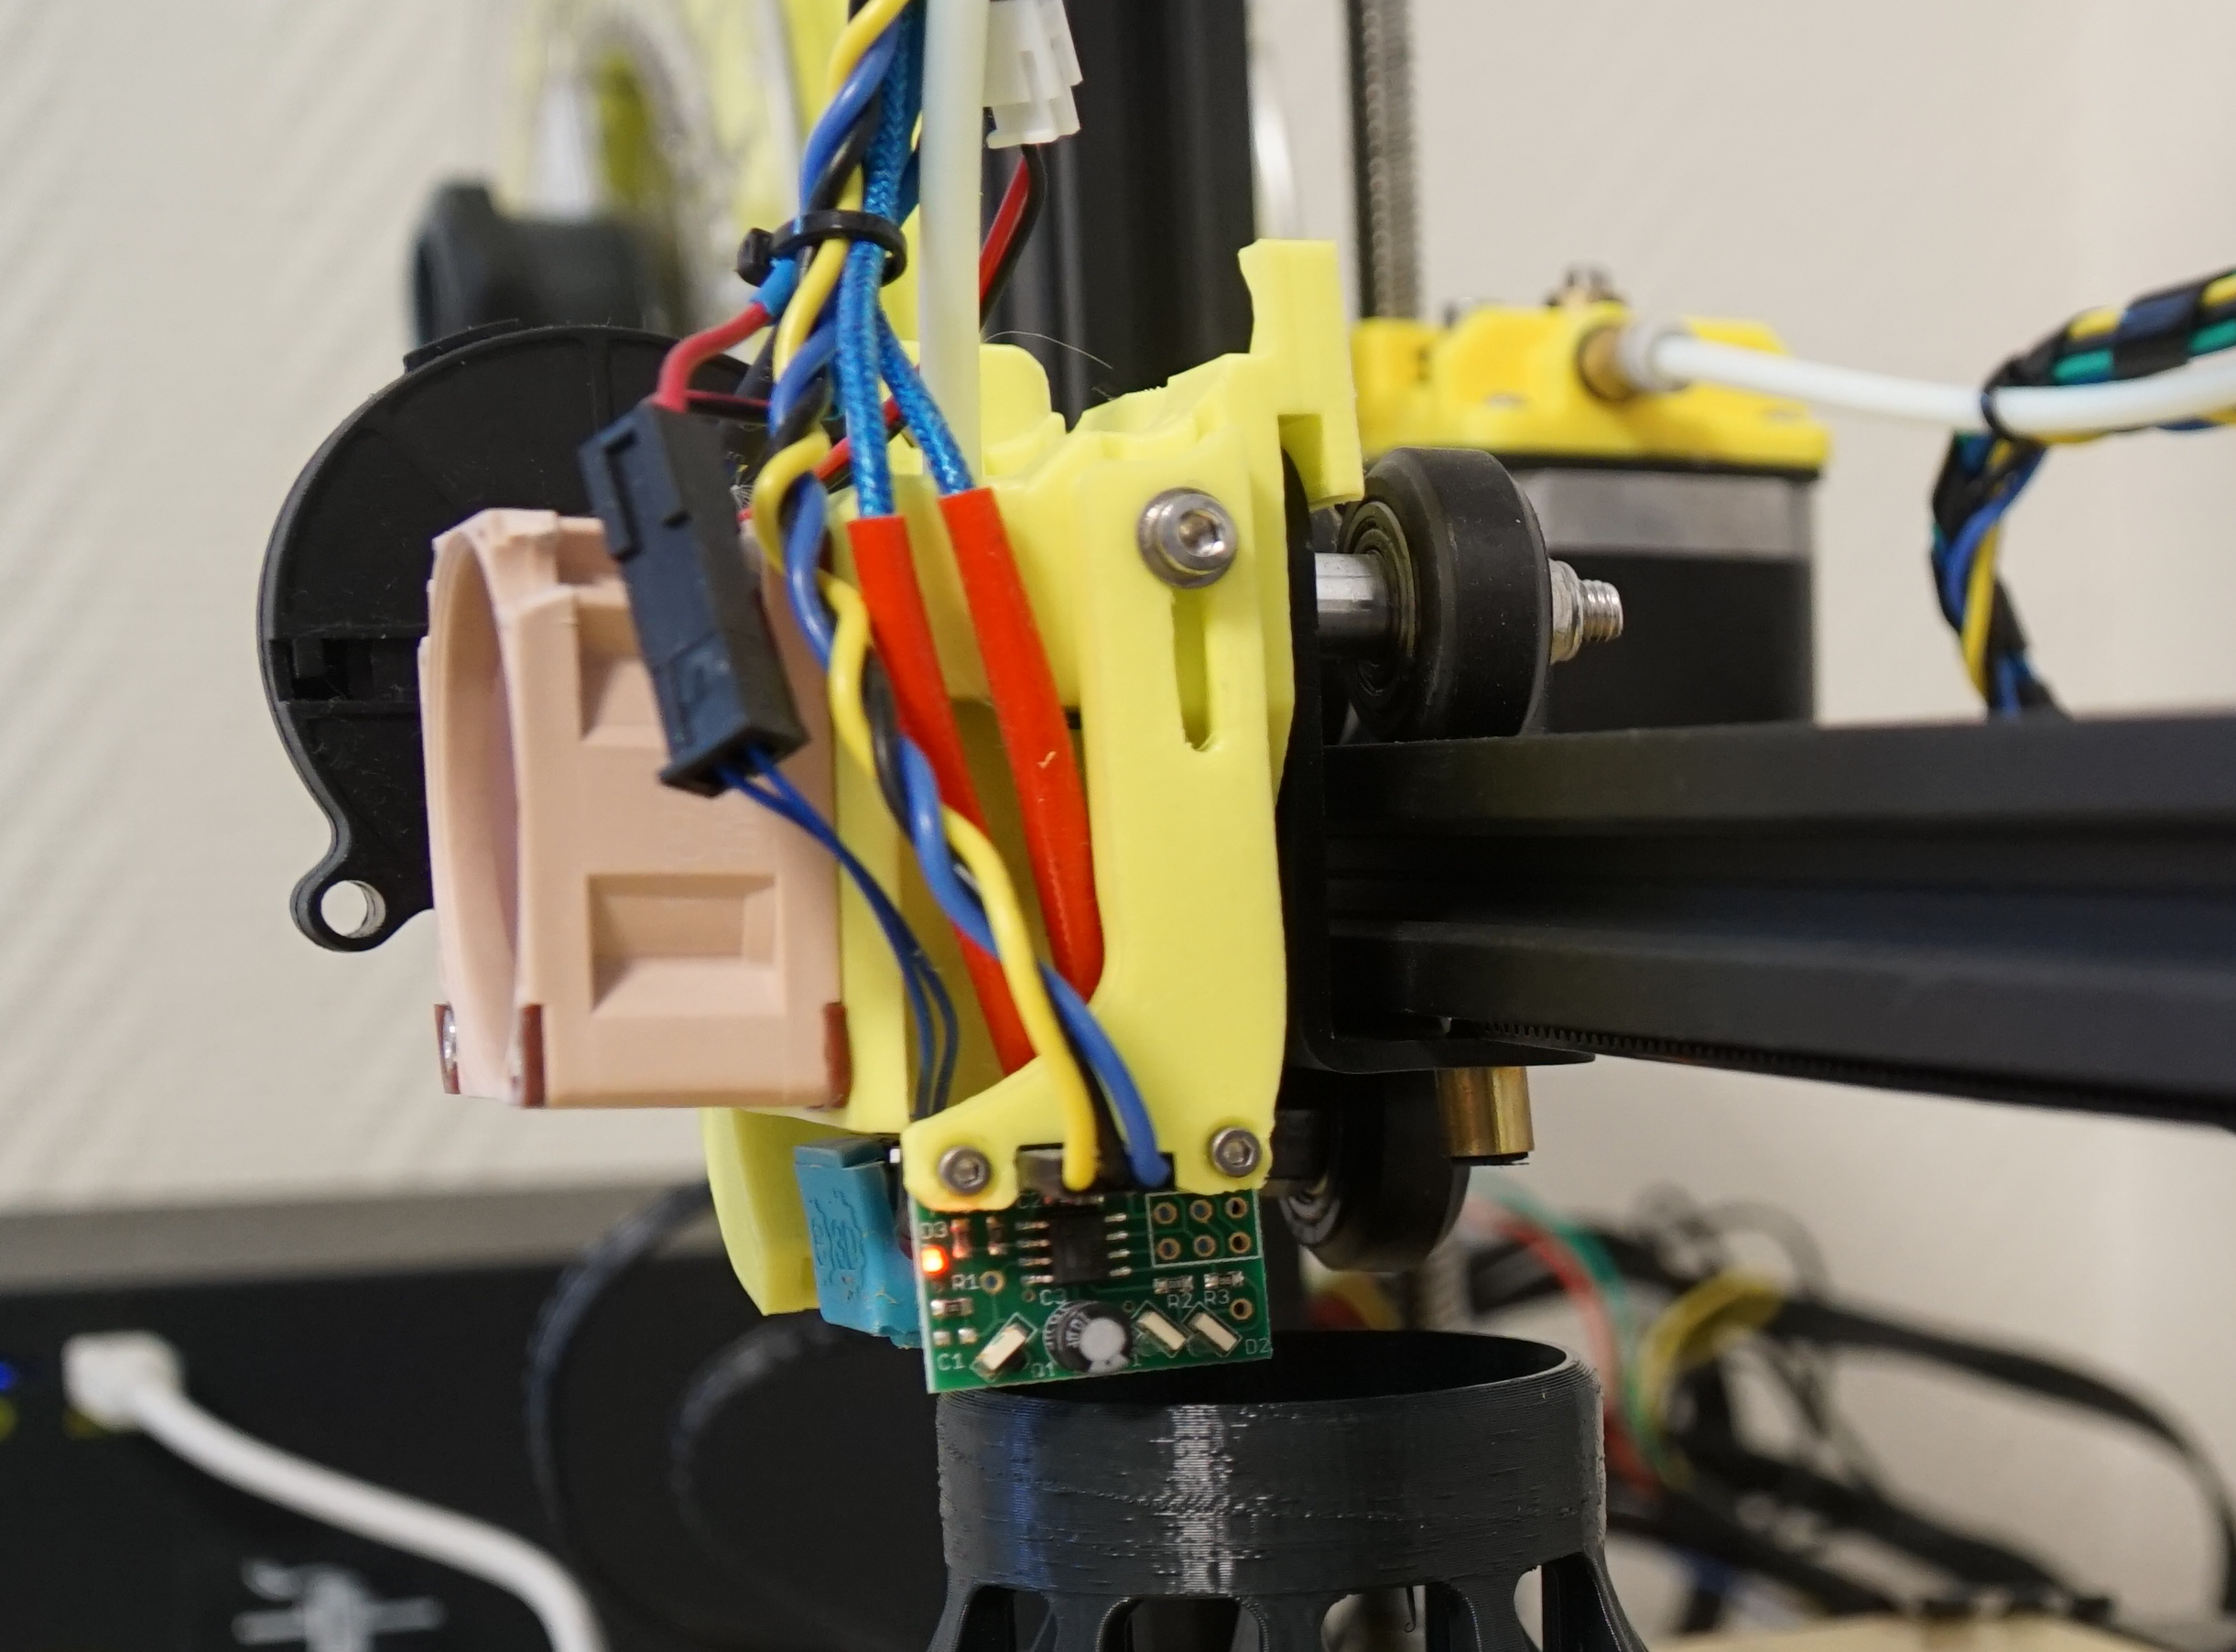
Both of my printers have now PrintBite+ surfaces on top of a glass mirror. This means that inductive sensors would not work. Capacitive sensors would have done the job, but they usually operate at 6-36v, and the Melzi board doesn't have output pins with this kind of voltage, which means that I would have to derive some current from the power supply and add a voltage divider not to fry my control board. Instead, I heard about the mini differential IR height sensor by David Crocker, and this looks exactly like what I'm looking for! It operates at 3.3-5v, is very accurate and repeatable, triggers at 2-3mm from the build surface, which gives enough clearance not to crash into the bed, and most importantly, it is barely sensitive to temparature changes, contrary to inductive or capacitive probes.
e3d-v6 conversion
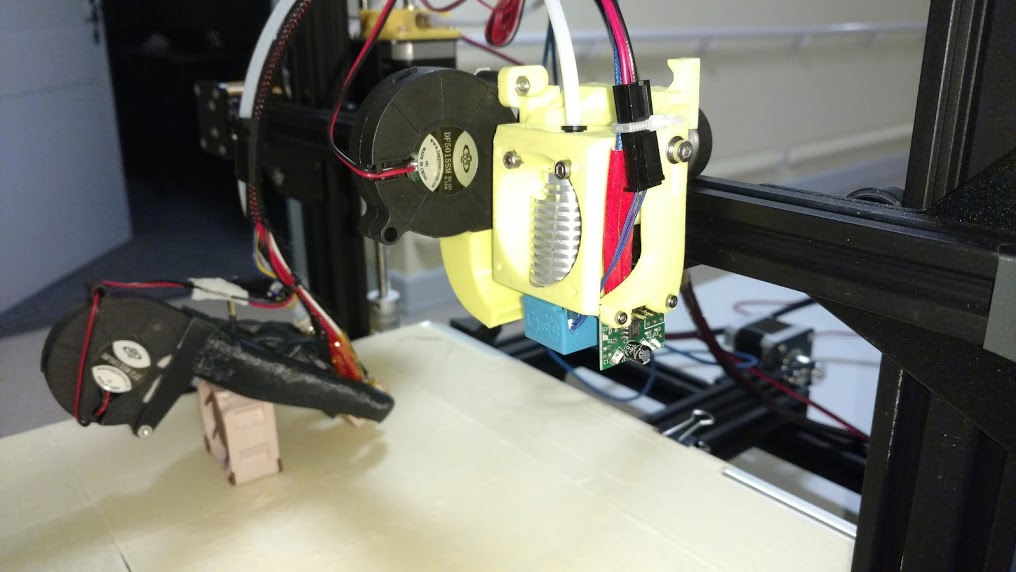
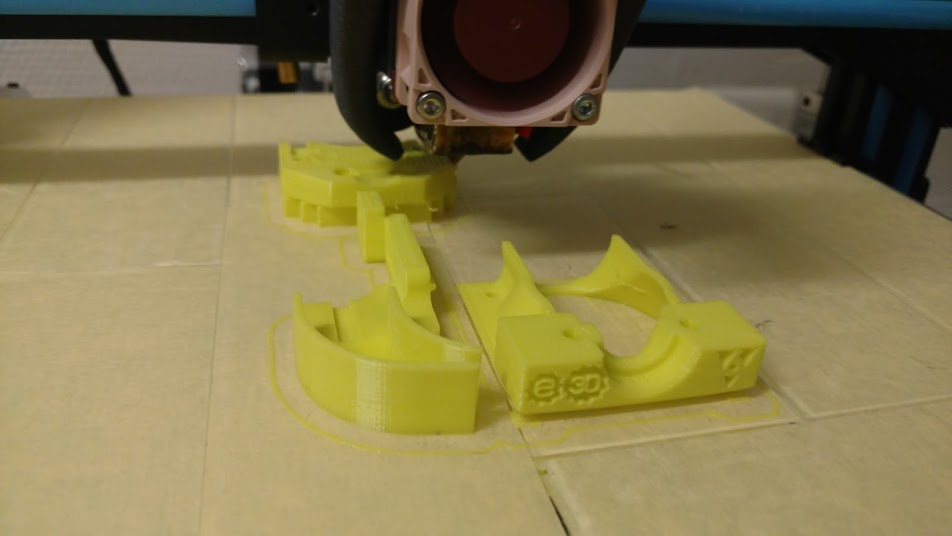 Installing this probe required me to design an attachment system, which means changing the design of my X carriage. Since I also wanted to replace the stock CR-10 extruder to an all-metal hotend by e3d, I looked on Thingiverse for a modular design. I decided to go for the Heavy duty mount by chito. and designed an attachment for my Z-probe using the open-source software FreeCAD.
The e3d-v6, contrary to the CR-10's stock hotend, is what's called an all-metal hotend. Most extruders have their teflon tube going down into the heating element of the hotend. Teflon cannot resist temperatures higher than 240°C for a suntained period of time without degrading and releasing toxic fumes. Installing this e3d-v6 will allow me to print strong materials with higher melting points, such as nylon or polycarbonate (provided that I build an enclosure for my printer!)