Optitrack Mounting System
16 February 2018
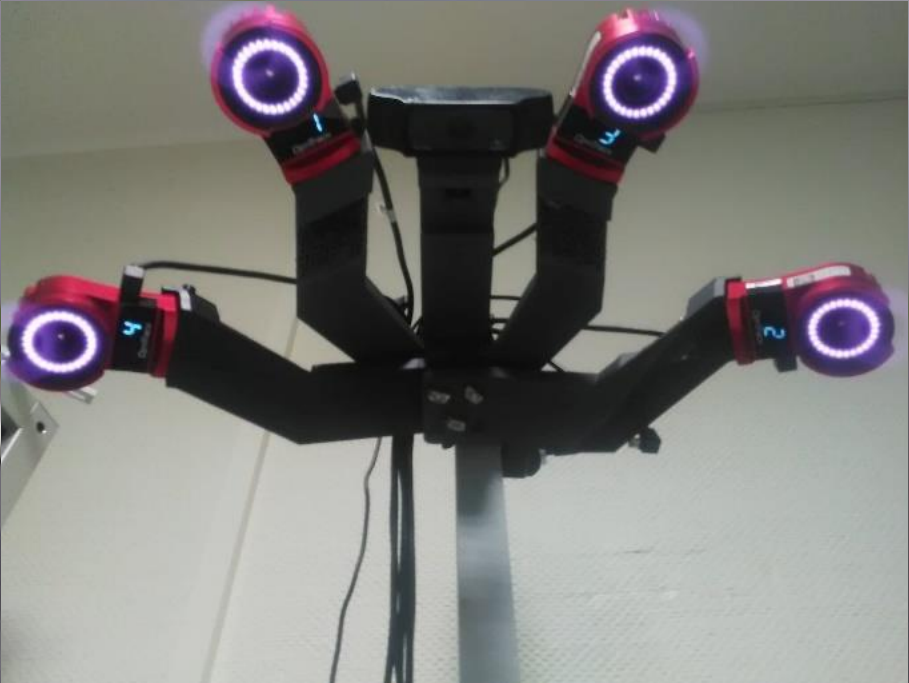 Here's an interesting project I've worked on: One of my colleagues works on a project where an Optitrack motion system is used to track the deformation of the liver during an open surgery. The optitrack is a system composed of multiple infrared cameras that can reliably track small markers in 3D.
The issue with this system is that the setup needs to be calibrated to find the extrinsic parameters of the cameras (their position relative to each other). This is something that is normally computed once, but if the system moves, everything has to be recalibrated.
In this project, the system has to be deployed in an operating room, around the patient's table. Since we cannot access the operating room at any time, and since, of course, it is not posible to ask surgeons to wait for our system to be calibrated before starting to operate, my colleague needed a compact, rigid system, that can easily be moved, and assembled in the OR, and that would preserve the relative position of each camera between assemblies.
Design requirements
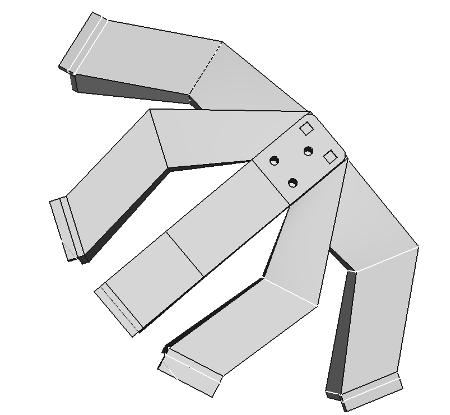 The system will be composed of one central arm holding a standard webcam (a logitech c920 camera), and four arms holding infrared optitrack cameras. The tracking area (the region of interest that the camera can cover) is the size of the targetted organ (about 25 cubic centimeters). The focal vector of each camera must converge towards the target, which will be about 1 meter under the mounting system. Finally, the cameras must be far enough apart from each other to cover the target from multiple angles.
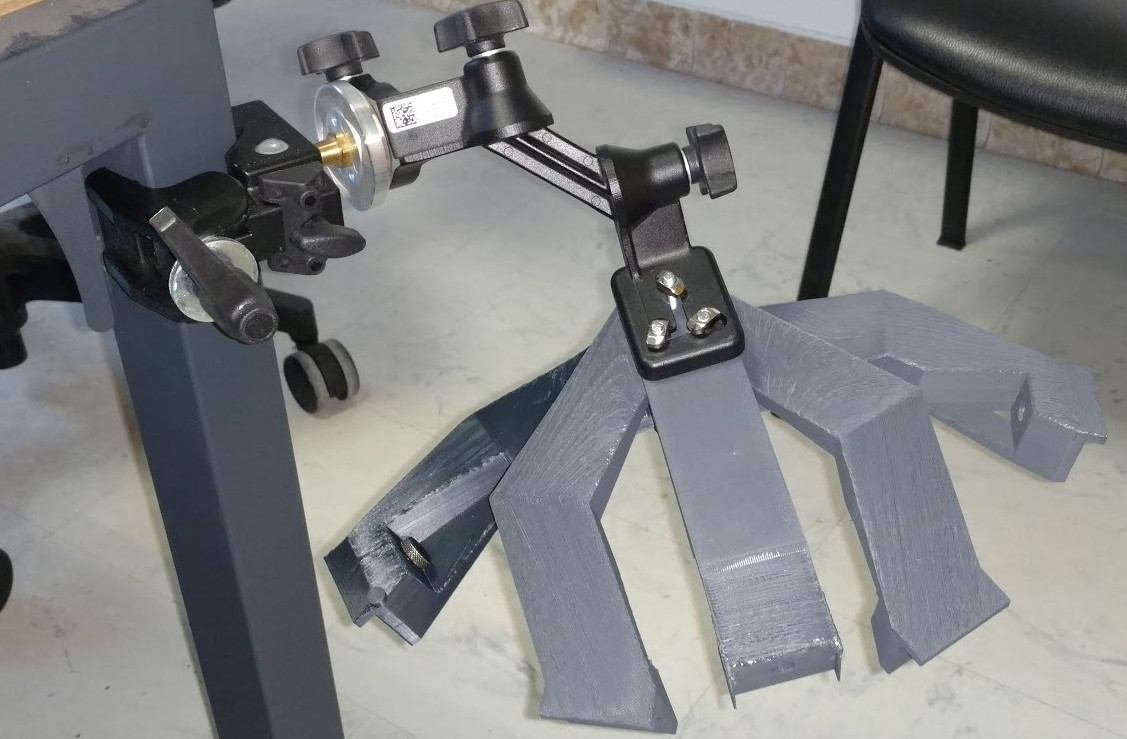
Also, the optitrack comes with a solid mounting system, with a mounting plate with 3 screw holes. Therefore the system will be designed around this mounting plate. Each arm will be detachable, and can be stacked onto each other. two inserts will keep the same placement even after reassembling the system, and the 3 additional screws will further help with that.
Printing
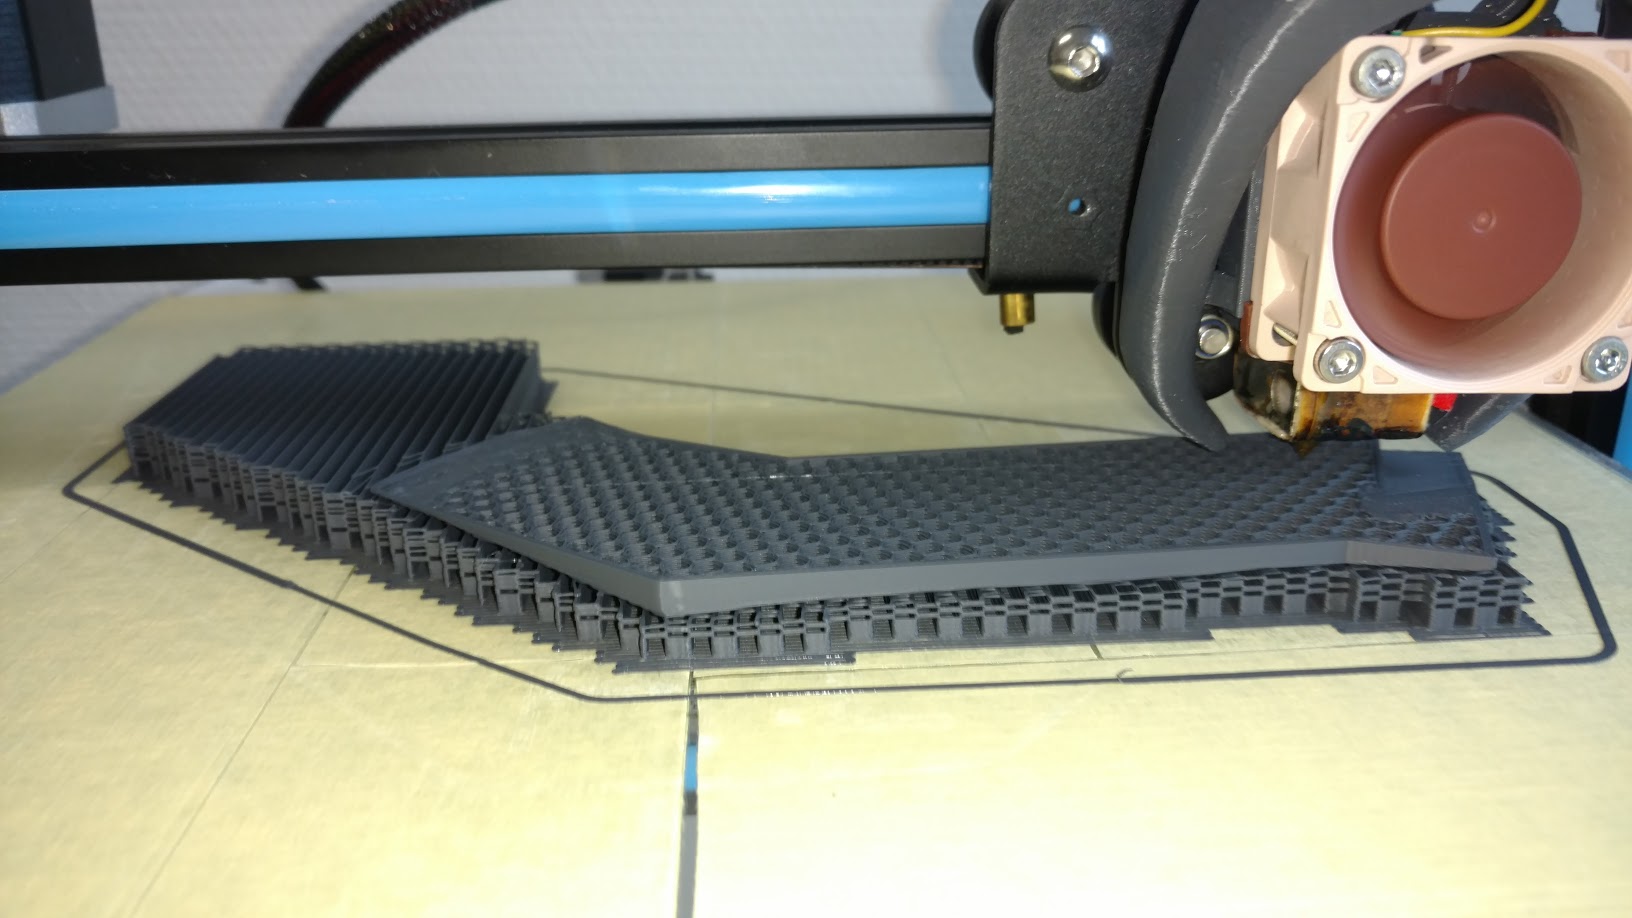 Each arm was printed separately on my creality CR-10 in PLA. These arms were very hard to print, since there is no flat surface on which to lay the part during the print. A lot of support material had to be used. Next time I'll have to design something like that, I'll make sure to take the manufacturing process into account while designing it!
I am personally not very satisfied with this design: The part's shape could be redesigned and optimized to reduce the amount of material needed both for the part itself and for the support and there was some design flaws in the camera's mounting holes that I had to fix post-print with my power drill. But my colleague loves it and uses it on a regular basis.
As I like to say: If it ain't broke don't fix it!