
Dolly MK2 clone
10 December 2017
 My colleague Christoph Paulus was interested in buying a 3D printer, and I was interested in building one. I stumbled upon a video series by Thomas Sanladerer on youtube and we decided to get into the adventure.
Also, a friend of mine who owns a prusa modified the frame for more stability, following this post from thingiverse and we decided to add this mod to our clone.
My colleague Christoph Paulus was interested in buying a 3D printer, and I was interested in building one. I stumbled upon a video series by Thomas Sanladerer on youtube and we decided to get into the adventure.
Also, a friend of mine who owns a prusa modified the frame for more stability, following this post from thingiverse and we decided to add this mod to our clone.
Pricing
If you are patient, almost all the required parts can be bought for peanuts on AliExpress. Just be aware that shipping can take up to 2 months.
Finally, you will need 3D printed parts. If you already have a printer, you can just print them yourself. In our case, we ordered them online through the crowdsourced platform 3Dhubs for less than 50€.
In the end, to our surprise, what really costs a lot of money is all the small hardware, nuts & bolts, bearings, rods, pulleys etc. the variety of lengths forces to buy multiple bundles and leaves you with many unused items.
We had the chance to have access to a lot of scrap machines from which I salvaged lots of screws, bearings, and even two stepper motors. This definitely reduced the price of the build, and if you have that possibility, take advantage of it!
I'm adding a list of parts because I've modified slightly Thomas Sanladerer's design to adapt to the frame, but when ordering the parts, compare with toms3d's own parts list that is more accurate. Mine is more to give a rough idea. You will also find the files for the 3D printed parts on toms3D's list of parts. Some are the standard prusa files, some other are adapted for Tom's build. The aluminium frame also requires modified parts. If you want the aluminium frame, you'll have to sort through those.
Overall, we managed to stay under 350€, despite buying the aluminium profiles to a faster (and waay more expensive) German supplier, and burning our RAMPS and Arduino boards twice... Yikes! In fact, I would advise you to immediately double down your electronics components orders. Accidents happen fast, especially if like us, this is your first electronics project ever. it will save you the time to reorder and wait a month to keep on going with your build!
Parts List
screws, bolts etc.
- 2020 aluminium profile ~4m
- LM8UU linear bearings, ~10pcs
- M3x10/12/18 screws ~100pcs
- Lots of M3 nuts (standard, nylock & square)
- M8 nuts 2pcs
- 608 bearings ~10pcs
- 5x8mm flexible shaft coupler 2pcs
- spiral wrap for cable management
- lots of zipties
motion system
- 8mm smooth rod 320/350/370mm 2pcs each
- 8mm threaded rod 1000mm
- GT2 16T pulleys 4pcs
- GT2 timiing belt ~2m
3D printed parts
- Dolor pulvinar etiam.
- Sagittis lorem eleifend.
- Felis feugiat dolore viverra.
- Dolor pulvinar etiam.
electronics
- mechanical endstops 2pcs
- inductive proximity sensor 1pc
- Arduino Mega or equivalent 1pc
- RAMPS 1.4 1pc
- LCD screen 1pc
- 100K Ohm thermistor 1pc
- lots & lots of wires (20AWG)
- Pack of Dupont-style connectors & crimps
- nema17 steppers 4pcs
- 50x15mm 12V radial fan
- 12V power supply
- IEC 320 power socket + switch
extruder / bed
- RepRap-style MK2a Heatbed
- Prusa i3 MK2 bed carriage
- 1.2mm feeder springs 2pcs
- 2mm inner diameter PTFE tube
- Felis enim et tempus.
- An e3d-v6 hotend kit
Laser Engraver conversion
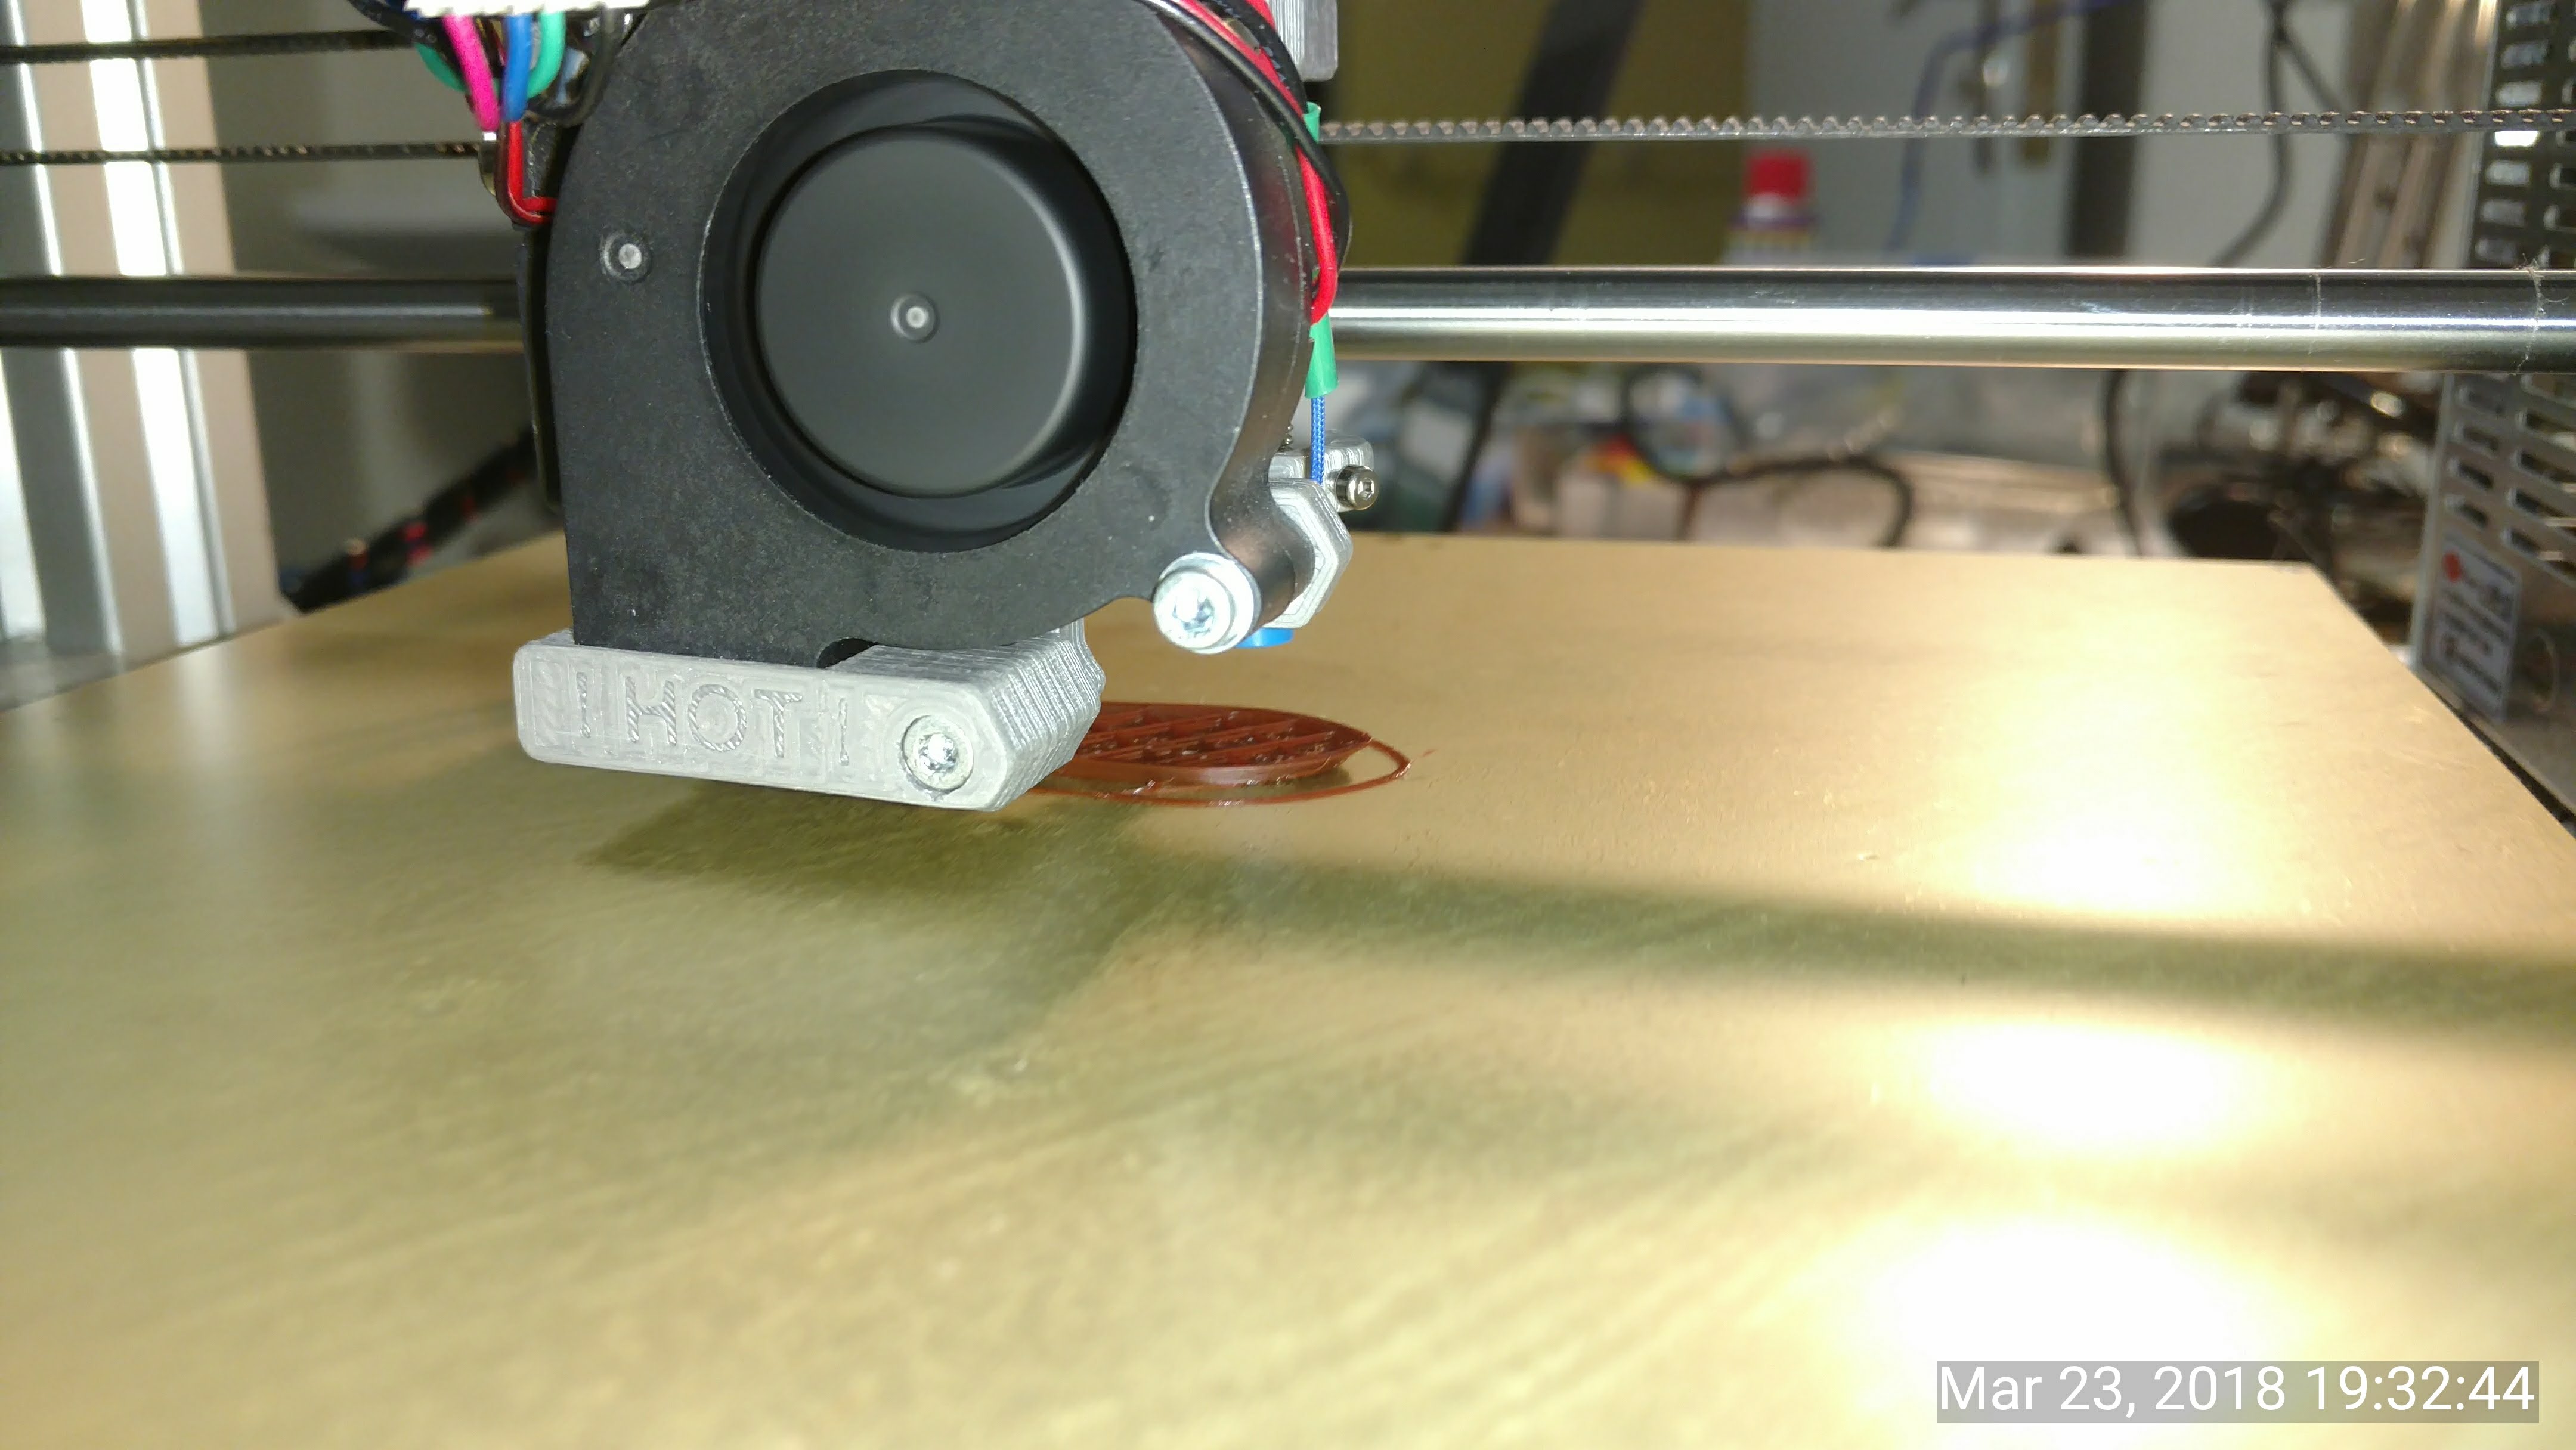
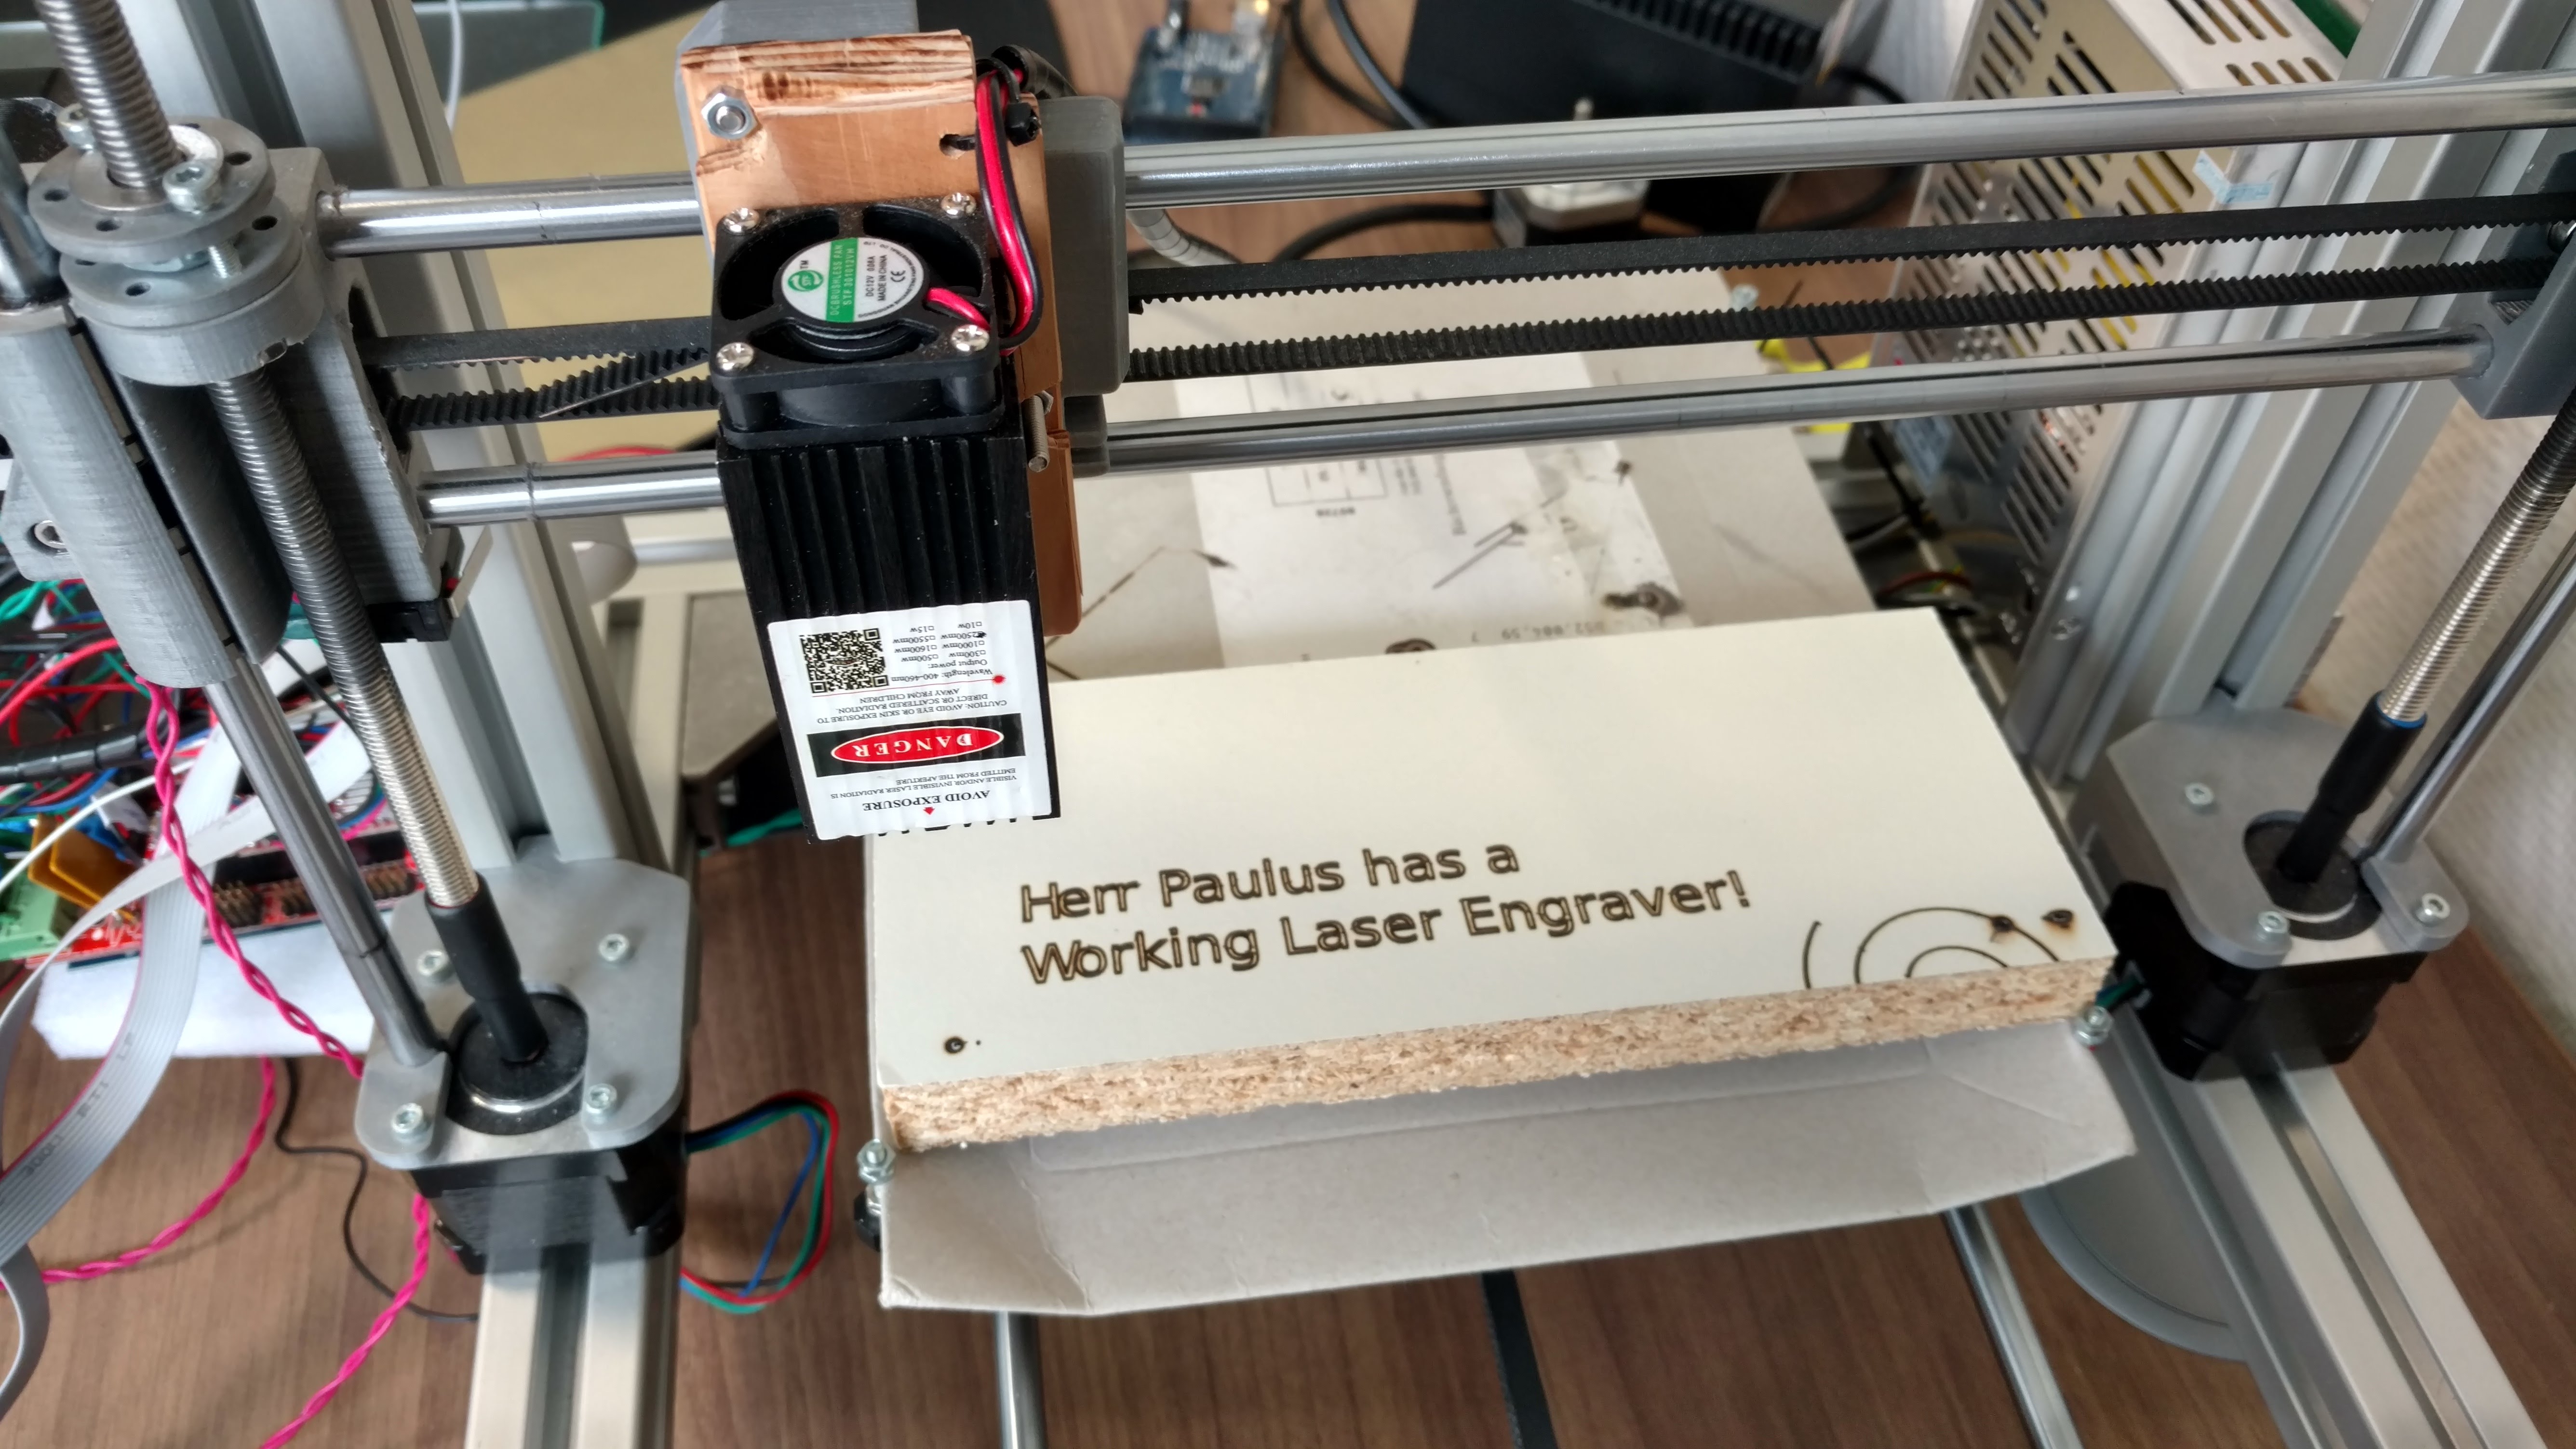 During the debugging phase of the build, we ripped the hair off our heads because the prints were just terrible at first, and we couldn't figure out why... At some point, my colleague lost hope, and decided to convert it into a laser engraver. It was actually a GREAT idea, because seeing the laser perform helped me realise that the problem was simply a loose pulley on the Y axis. Instead of trying to tweak the firmware looking for a solution, ALWAYS check your hardware first, especially loose screws...
I've learned a lot from this build, and clearly, there are many things to improve. first of all, some proper lead screws would be a great upgrade. The inductive Z-probe is really, really bad at detecting the print surface, and almost has to touch it to trigger.But it works, and it was a fun experience for a first build. I really hope to work on similar projects in the future!


